Secure way to control Arduino devices from anywhere in Arduino Control Center(Part III)
If you have read the previous post, you already know that is not possible to issue an SSL certificate with an IP address, it has to be used hostname like any other web page you're visiting every day.
In order to create a hostname, in this article, I will use No-IP free Dynamic DNS service. It has a few limitations in the free version - only 3 hostnames and every 30 days hostnames have to be confirmed that you are still using them. It can be easily upgraded if you find this annoying and you will use more than three hostnames...
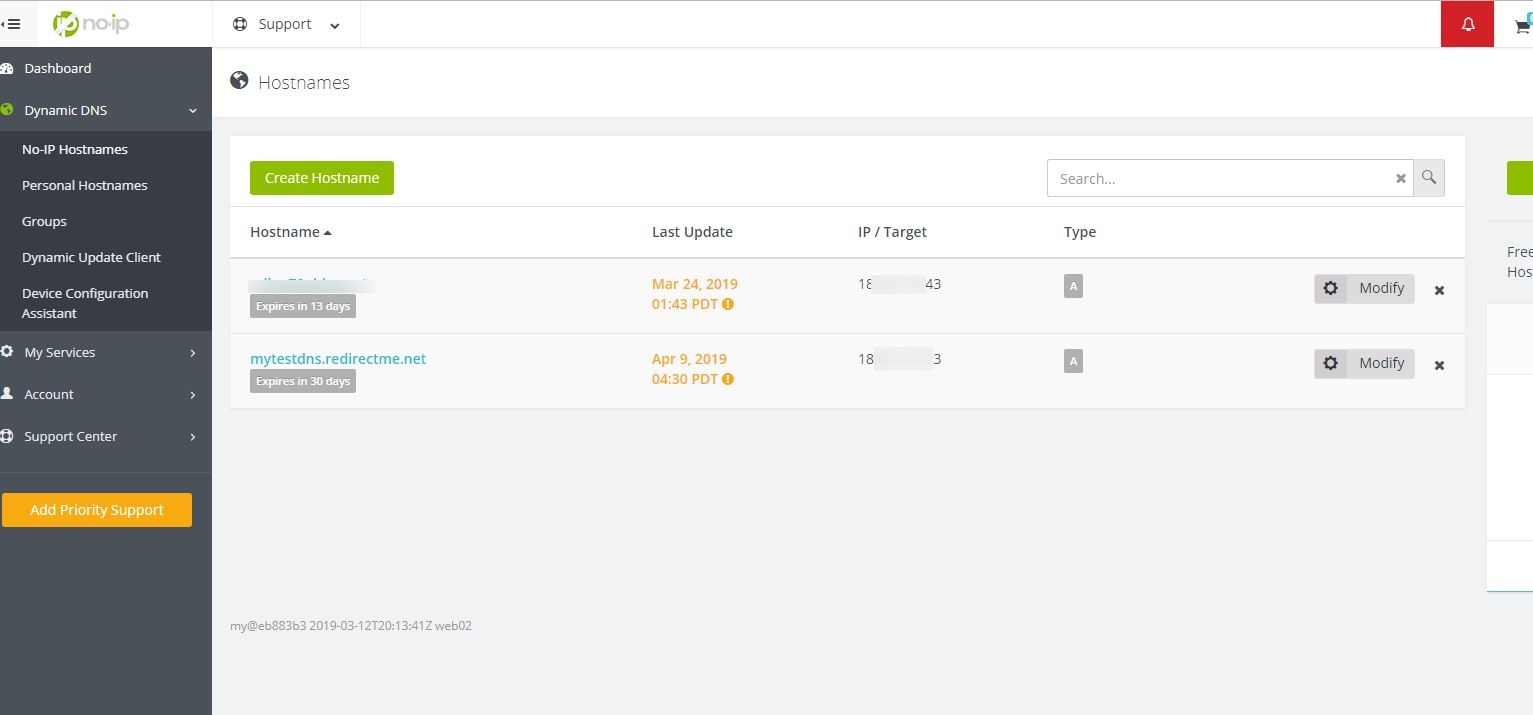
After registration, you can create a hostname in the administration dashboard.
 |
| Click on Create Hostname |
Select whatever hostname you want and domain and click on Create Hostname:

For this demonstration and for the next topic where we finally will be connected to the Arduino Control Center web server over a secure HTTPS connection, I've created hostname mytestdns.redirectme.net
The next thing that is important to do is install DUC (Dynamic DNS Update Client) application. It checks for IP address changes in the background and automatically updates the DNS at No-IP whenever it changes.

After downloading and installing DUC application, Sign In with your login credentials:
 |
| Sign In to DUC application |
Select hostname created at No-IP dashboard, in this case, mytestdns.redirectme.net, press Save button, and your PC public address will be synchronized with No-IP server.
 |
| Select hostname |
 |
| DUC at work |
What is this mean? Whenever someone types in the browser mytestdns.redirectme.net, the No-IP server will automatically redirect the user to Arduino Control Center web server! If you didn't buy a fixed IP address from your Internet provider, and public IP address changes after PC reboot, for example, the No-IP server will know about this change as soon as the DUC application is started, by default setup, this is automatic.
So, when you type in browser mytestdns.redirectme.net, and you did proper Port Forwarding on your home-office router(in this case port 80) to the PC with running Arduino Control Center and web server started on port 80, you will get Arduino Control Center login page.
 |
| Hostname in web browser |
 |
| ACC login page |
 |
| ACC main view after login |
As you can on screenshots, we are logged on the ACC web server by using mytestdns.redirectme.net hostname! Still, the connection is not secure, and in the next post, I will explain to you how to generate SSL certificates and connect to Arduino Control Center web server on HTTPS port 443, establish a secure connection with a valid FREE SSL certificate...


Comments
Post a Comment